The Andrea Gail – 1:20 scale – {part 81}
The suggestion for the air horn, was from a fellow named Piet, a friend of mine on the MSW site. I’m always open to ideas and suggestions…….if they are good, I will keep it mind. For those on the site, looking in, I feel it gives them a sense of contribution. But this one has taken on a special meaning…..he just came back from a Wounded Warrior’s model exhibition, put on by another of our MSW members, in South Carolina. Piet lives in Florida……doesn’t sound like much of a drive, but for a gentleman whose over 80 years old….driving a pick up truck…all alone, well……..it must have been quite a ride! Piet brought along his scratch built Dutch Submarine, the 019, which he built in memory of his father.
So, here are a couple pictures of the improved air horn……..and a big salute to Piet!


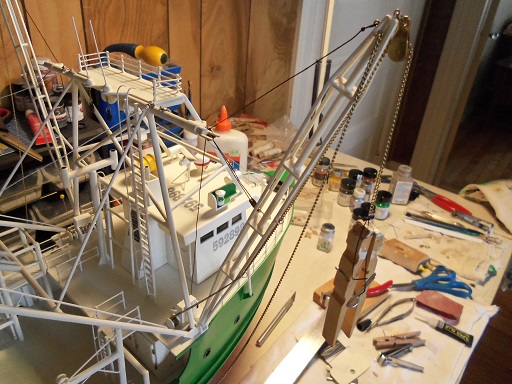
It was time to adjust the booms and tie them off.

The port side counter weight chain was cemented to the aft side reel.

While this was drying, I decided to run the starboard side chain up first……..leaving a clothes pin weight for the time being.
Not forgetting that I still need to make the control panel for the fore deck reel, I began to assemble it.
The port side counter weight chain was rigged next……..same way. Not that this really matters, but in the instructions, they show these chains with a little bit of slack. I’m sure that in the grand scope of things, it’s probably not like that…….but I did it anyway to see how it would look.


Holes were drilled in the drum part of the fore deck reel. Thread will be cemented in them, and then spooled up to fill them. I went in the wind direction, so that the runout will be on the bow side of the reel. The thing I’m concerned with, is the threat that the line may rub somewhere, as it is passed through the pulley spools under the gangway.

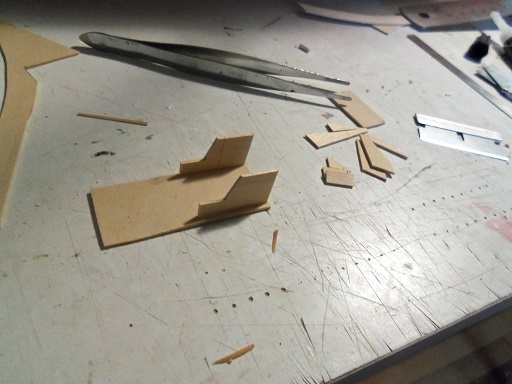
Cutting around six of the smaller dowel poles, everything needed to make the buoys was brought together.

The fore deck reel was fully loaded by this time. Clothes pins were hung on the thread to aide them once again, to lose the memory of being wound on the card.

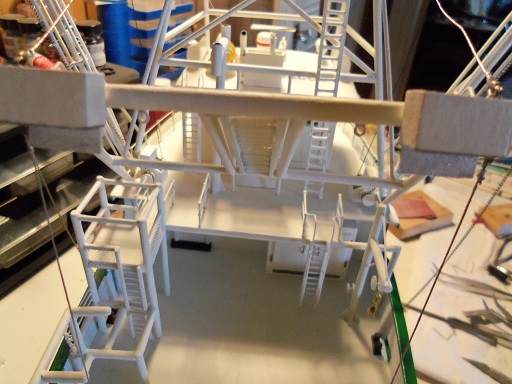
The single blocks that I had hung near the gangway pulleys, were removed. I needed them for the aft bar…….and the chain that they were tethered by, were too long anyway. Two eye bolts were installed on the bulwark posts on both sides of the stern. Two others were installed under the aft top bar. They may be hard to see, but they are there.
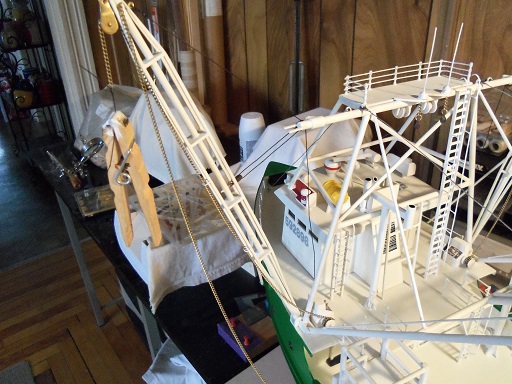
This pictures shows the booms in their fixed position, and where I am at the moment.

Here is the progress of the fore deck control panel……pretty much sanded and ready for some paint. Off to the left, you can see one of the buoys, the bead is just slid on there. More work is in store for them as well.

AHOY!!!

Your model of the Andrea Gail is most excellent Denis. The detail you have been able to put on this model makes the model. Thank you for mentioning me and a link to my build log. The praise for the Wounded Warrior kids must go to Sawdust Dave. He is the one who set it up and we hope that there will be a repeat next year.
Cheers,
Piet, the Flying Dutchman.
a huge welcome and thank you for allowing me to mention you in my log. as mentioned, if I had more info, I would have gladly put it in there! it’s such a worthy cause. to be open to suggestions and comments is also such a useful tool, for anyone who is just starting out ind this hobby. the internet has really opened the doors of this hobby, enabling others to look into a person’s build, and interact with them. I find it to be better, than the stigma that used to surround this hobby many years ago, when the hobby was done in private mostly, excluded by the interaction of others. so…a big thanks to you Piet, for your contributions, allowing me to see the 019, and for the wonderful idea you added to this model.